Go to the back office
- Click on the Wrench Icon.
- Click on setup.
- Enter your pass code.
Go to Item Setup
- Click on Menu at the top.
- Click on Menu Items.
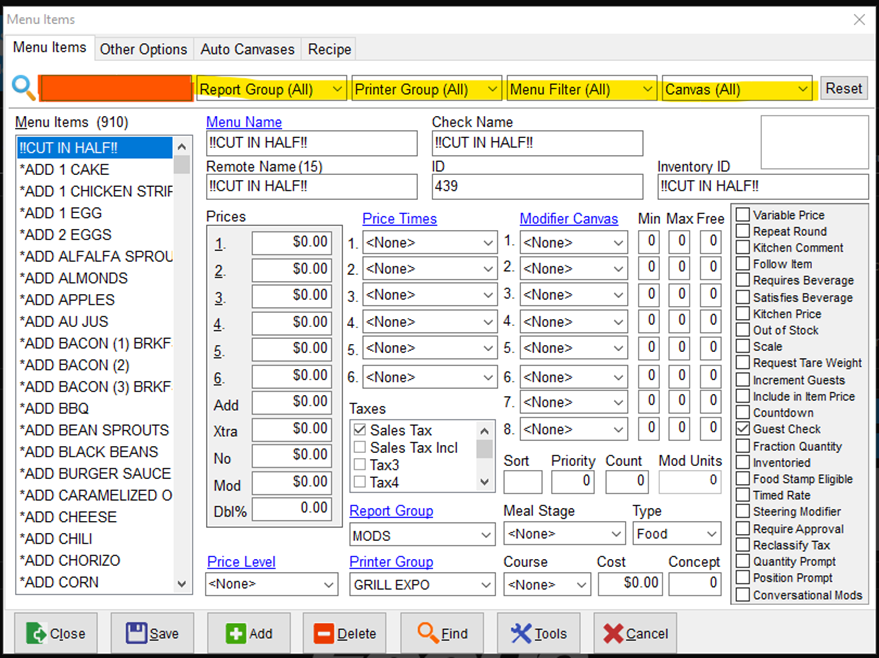
You will see all your menu items on the left side.
Understanding your options in item setup

The options highlighted in yellow are ways to filter your item list.
The option highlighted in Orange is a search bar.
There are 5 Different Menu Name fields at the top.
- Menu Name – this is what displays on the button.
- Check Name – This is what prints on the Receipt.
- Remote Name – This is what will print on a kitchen printer if you use one.
- ID – This is for internal use or if you are scanning an item you would put the bar code here.
- Inventory ID – Also for internal use.
Once you put in a name in Menu Name and tab to the next field it will put that name in all 5 Names. Then you can change them if you want.
You can find your items and while that item is highlighted you can change it’s price or other options for existing items.
Adding Items
- Click on the Add button.
- While in Menu Name – Type the name of the new menu item.
- Click in the Price 1 box and give it a price.
- In the Taxes area select which tax rate will apply to this item.
- Click Save.
- Click Close.
Now the new menu item is in the system
Adding a Button
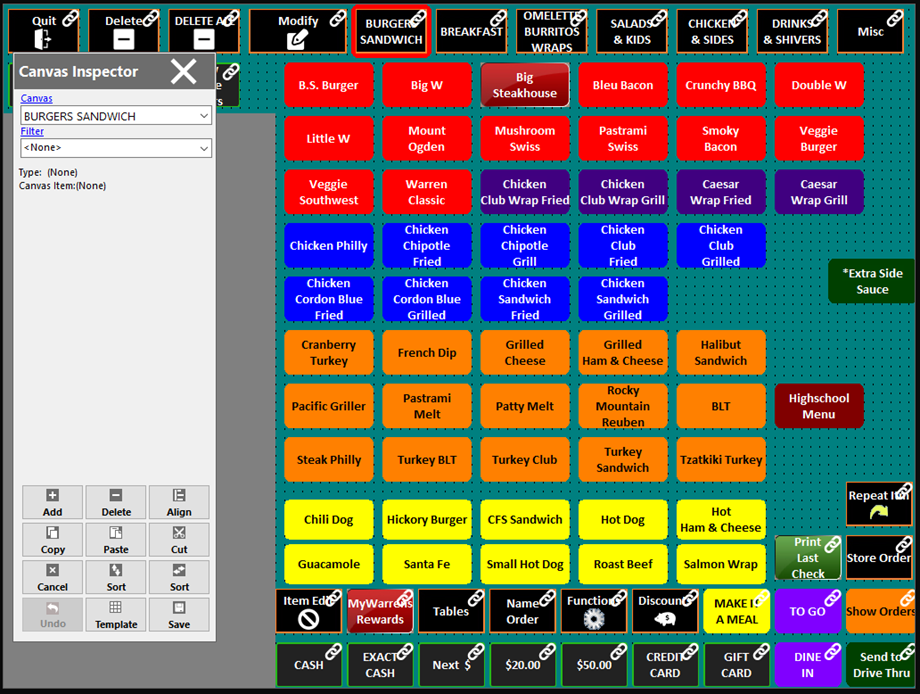
- Click on Canvases

2. On the left side you will see Canvas with a drop-down box. You can select which ever screen you want to edit.
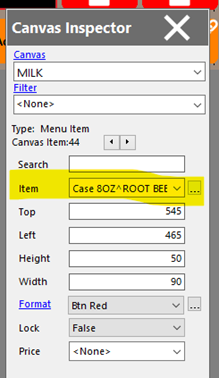
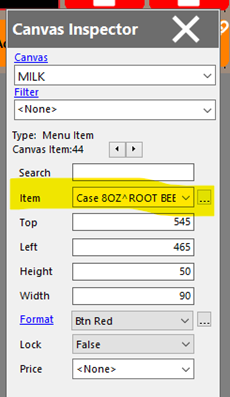
3. If you want to change an existing button. Click on the button and you will see an item drop-down option on the left. You can find the item and select it.


Click on Save then click on the X to close item setup
